Sunday, March 29, 2015

gluing the bunk panels

Yesterday we did nothing on the boats because we had to go to our multihull club meeting and we had to measure the main of Thrill Seeker.
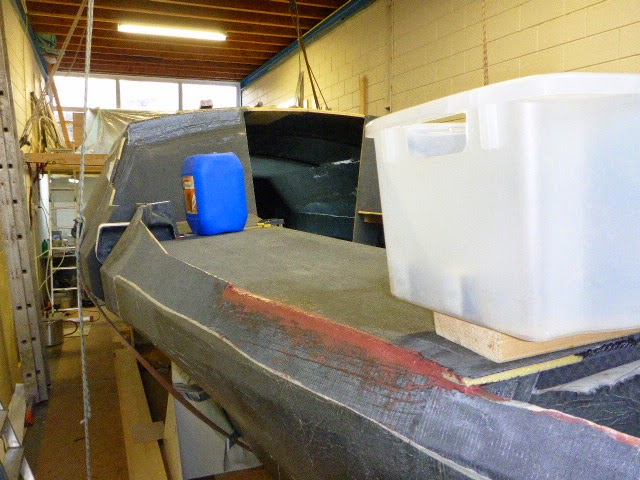
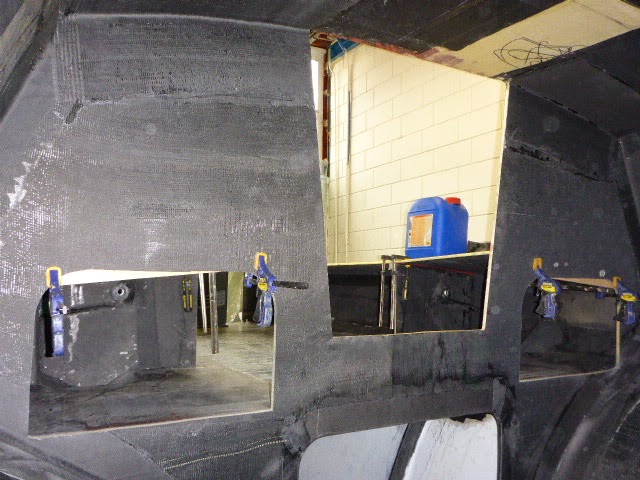
Today we started in the morning to do some antifouling on one side on Thrill Seeker. After that we glued the bunk panels.


Friday, March 27, 2015

cutting the panels for the bunks

I started today with cleaning the edges of the panels we made last weekend. After that I made them to fit and cut the hole to get a entrance under the bunks.


Sunday, March 22, 2015

making some panels


I the morning we went to Thrill Seeker to install the toilet bowl and stuff again, still some things to do.
After the lunch we made some panels, we were forgotten how much time it takes to make them. Now we know again and we have some more panels to go. i also made a picture of the port hole from the outside.


Saturday, March 21, 2015

preparing for some panels and cutting some port holes

Yesterday I had to install a new dishwasher so I only spend a half day on building. I cut the foam for the cockpit seats and glued them together. The big piece is 100kg/m3 and the smaller side pieces are 80, they are under the backrests. The 100 makes it stronger, when you sit on your knees there is a possibility you make dents on the seats if you use the 80 and I had still some 100 from the floats.
Today I had to get some tools to finish the install of the dishwasher, the tools were in the shed where Thrill Seeker is stored. After lunch I sanded the glue seams of the panels. After that I decided to cut the port holes, I forgot to make pictures from the outside. After the tea brake I started to put the vacuum table together. Tomorrow we start with assembling the toilet together of the Thrill Seeker and maybe in the afternoon we laminated the panels.

Sunday, March 15, 2015

demolding the toilet bowl mold

I started today with demolding the toilet bowl mold, this was no easy job and for the rim I cut that so I could loose this one. On the normal way I could not get it loose. For the bowl mold I did try it but with the experience off the rim I gave up quick and decided to demolish bowl to get the mold out.
The result was very nice, I will alter some details so the rim can fit the bowl. This is a job for later and now the bowl off Thrill Seeker can be placed back.
After lunch I started to make a mockup for the cockpit bunks and comings, I am satisfied with result and Fetske to.


Saturday, March 14, 2015

making a mold for the toilet bowl

I started the day to do the other beam mount, I am glad that they are all done now. After lunch I started with making the mold for the toilet bowl. I first put some tape on the boil of Thrill Seeker because this one must be placed back. I then made a putty with some graphite what will be a sort off gel coat and put the different sheets of glass fiber and some carbon offcuts on it. And finally I did put them in a vacuum bag. Now hoping I can get the molds off the bowls.


Friday, March 13, 2015

one outside beam mount laminat to go

This morning I did one of the after beam mounts, this was a little bit easier than the front ones but still much work. After the lunch we went to Thrill Seeker, while I was painting the inside front for the second time Fetske was sanding the anti fouling. Tomorrow I will do the other beam mount.

Sunday, March 8, 2015

preparation for the after beam mounts

We first went to Thrill Seeker, I painted a second layer in the inside and Fetske sandend the antifouling. This was only a job for the morning. After the lunch at home we went to Thriller to prep the after beam mounts. I did some packing tape on the beam mounts a while ago to keep them clean but it has a downside to get it off again. Fetske spend some four hours to clean them. I did grind the and sand the front beam mounts. After that I did cut all the necessary carbon for the outside after beam mounts. As last job I put some fairing putty on the front beam mounts.

Saturday, March 7, 2015

outside front beam mounts finished with carbon

Yesterday I did the other outside front beam mount but had not take any pictures so I took them today after removing the peel ply, the result looks nice. The rest of the day we spend on Thrill Seeker with sanding, cleaning, laminating and painting. We take some pictures when finished.

Friday, March 6, 2015

going to make a carbon toilet bowl

In the morning I did the other outside front beam mount. After the lunch we went to Thrill Seeker to strip the front inside. I dismantled the toilet bowl,  holding tank and some other small stuff so I could scrape the old paint of. A few months ago a both a second hand toilet Lavac bowl but when I picked it up it appeared I different model. This model was more oval and had no upper edge. The upper edge is handy normally to hold the water in the bowl when it is ruff. I then came with a idea to use this bowl as a mold because of the absence of the edge. From the bowl of Thrill Seeker I make a mold for the upper edge so I can glue it later on.

Tuesday, March 3, 2015

first outside beam mount done

I quit a little early from work so I could do some preparation for the outside. After cutting some carbon for the front and partially for the back I decided to laminated one side and it went quite well.
Now I have three left to do.


Sunday, March 1, 2015

laminated the beam compression bars

I first made a picture of yesterdays work and I than started to scrape and sand the bars.I had the plan to do it with vacuum so I prepared all the necessary things, but when I was laminating the bars with a very nice HD filled I was afraid that the filled will be pushed away. So I did no vacuum and leave it as it was but do the other side as well. After the laminating I started to sand the outside of the beam mounts. This take some time and is still not finished. Next week we start to make Thrill Seeker ready for the season. We have to do some small jobs like some painting on the inside front, anti fouling and some other small things.